
How to Plan a Video Game Idea: A Step-by-Step Guide for Game Developers
Every great game starts as a feeling — a spark of what if? that won't leave you alone. Maybe it's a mechanic you've never seen executed quite right, a world you've been building in your head for years, or a story that needs an interactive medium to really land. That spark is the easy part. Translating it into something a team can build — or that you can build solo without losing your mind — is where most game ideas quietly die. The cure isn't talent or time. It's planning.
This guide gives you a concrete, phase-by-phase process for planning a game from the first idea all the way to a sprint-ready development plan. Whether you're a solo indie developer or leading a small team, following this structure will save you weeks of rework, keep your scope from ballooning, and give everyone (including future-you) a single source of truth.
Phase 1: Capture and Validate the Core Concept
Before you name your game or sketch a single character, you need to stress-test the idea itself. A lot of planning fails because developers skip straight to the fun stuff — art, lore, mechanics — before confirming that the central concept is actually worth building.
Start by answering three questions in plain language:
What is the core gameplay loop? What does the player do, what do they get for doing it, and why do they want to do it again?
What makes this different? You don't need to reinvent the genre, but you need a clear point of differentiation — a mechanic twist, a tonal shift, a unique setting.
Who is this for? Define your target player in one sentence. Genre fans? Casual mobile players? Narrative-first RPG audiences? Knowing this early shapes every decision downstream.
Write these answers in a Project Brief — one of the ready-made planning page templates available in PlanPhaƨe. A good project brief forces clarity. If you can't fill it out, the idea needs more development before you move forward.
Phase 2: Write Your Game Design Document
The Game Design Document — the GDD — is the backbone of your entire project. It's not a formality. It's the living document that answers every question your team (or your future self) will ask during production: What does this mechanic do exactly? How does this level end? What's the tone of this dialogue?
PlanPhaƨe's Game Development template includes a structured Game Design Document with dedicated sections for overview, mechanics, narrative, and more. Instead of starting from a blank page, you're filling in a format that's already been designed to capture everything a production team needs.
What a Good GDD Covers
Game Overview — genre, platform, target audience, tone, and a one-paragraph elevator pitch
Core Mechanics — detailed descriptions of every gameplay system, including inputs, feedback loops, and edge cases
Narrative Summary — premise, protagonist motivation, major acts, and ending conditions
Visual and Audio Direction — reference points, art style guides, and sound design goals
Win and Fail States — how does the player succeed? How do they fail? What happens at each?
Scope Boundaries — explicitly list what is NOT in the game to prevent scope creep
A GDD isn't a creative constraint — it's a creative commitment. It's the difference between a game that ships and one that lives forever in a folder called 'ideas'.
Phase 3: Design Your Mechanics and Systems
Once your GDD has a solid foundation, it's time to go deep on your mechanics. This is where game design actually happens — not in the broad strokes of the overview, but in the granular details of how systems interact.
PlanPhaƨe's Mechanics tool lets you define and document each gameplay mechanic individually — inputs, outputs, interactions with other systems, balance notes, and iteration history. Keeping mechanics documented at this level means that when a playtest reveals that your stamina system breaks your combat loop, you can trace exactly how they're connected and fix the right thing.
For each mechanic, document:
What triggers the mechanic (player input, event, timer)
What the mechanic affects (player stats, world state, narrative flags)
How it interacts with other systems (does it conflict with your economy system? Your progression curve?)
Known design risks or open questions
Acceptance criteria — how will you know when this mechanic is working?
Phase 4: Build Out Your World and Characters
Mechanics define what players do. World and characters define what players feel. These two tracks need to be developed in parallel, not sequentially, because your world's rules will shape your mechanics and your characters' arcs will shape your narrative structure.
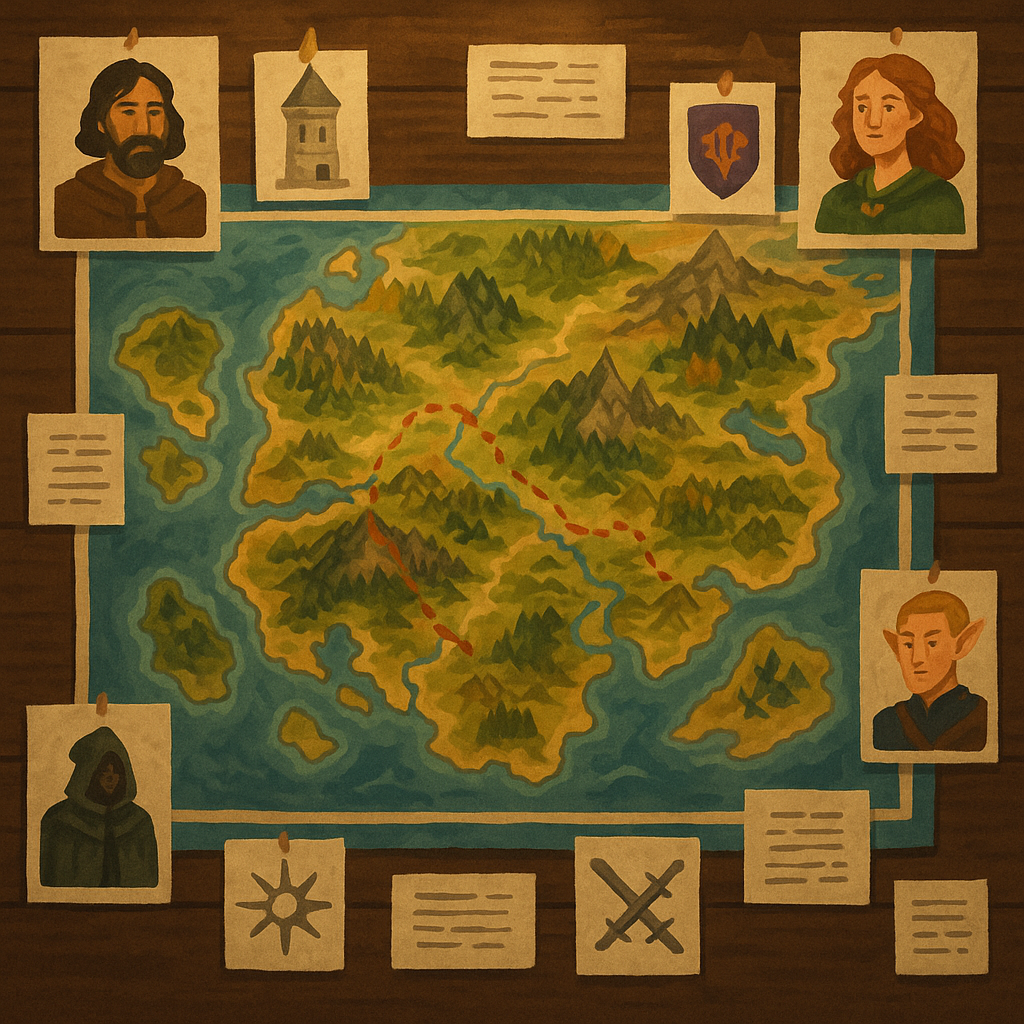
PlanPhaƨe's World Building feature uses a node-based canvas to connect your lore, factions, locations, and world history visually — so you can see how your world's pieces relate to each other instead of managing them in disconnected documents. When your northern faction's history explains why the player finds certain items in a specific region, that connection needs to be visible at a glance.
For characters, PlanPhaƨe's Characters tool gives you structured sheets for stats, backstories, abilities, and visual references — all in one place. No more hunting through Google Docs for the character sheet you updated three weeks ago.
Phase 5: Plan Your Levels and Progression
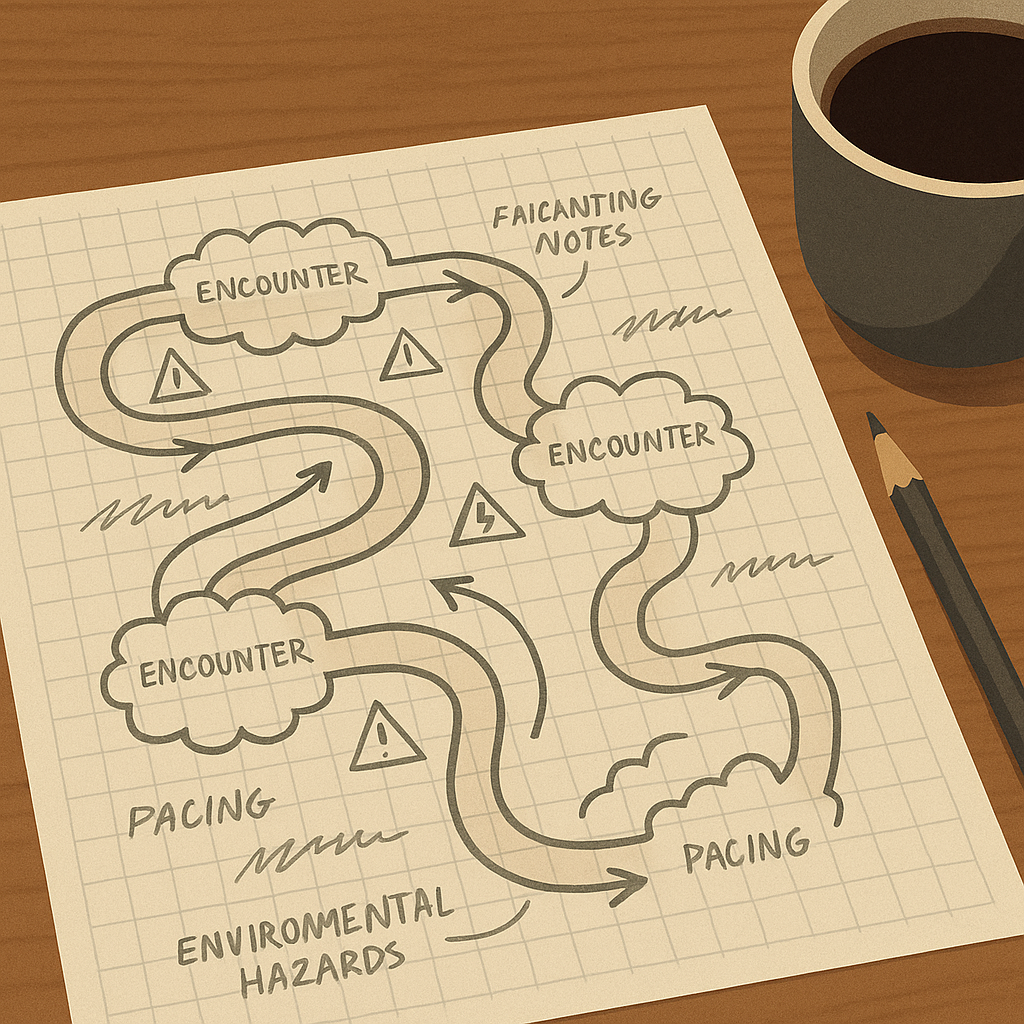
Level design is often underplanned. Developers know roughly what each level should feel like, but skip the structural planning that makes it actually achievable in production. Use PlanPhaƨe's Levels tool to define each level's layout, progression beats, encounter design, and environmental storytelling goals before a single asset is built.
A solid level plan answers:
What mechanical skill does this level teach or test?
What narrative beat does this level carry?
What is the pacing curve — where does tension peak and where does it breathe?
What are the required assets (environments, enemies, props, music)?
What are the entry and exit conditions?
Mapping this out across all planned levels early also gives you your first real look at production scope — which is exactly when you want to discover that you've planned eighteen levels for a three-person team.
Phase 6: Set Your Roadmap and Track Risk
With your GDD, mechanics, world, characters, and levels documented, you now have enough information to build a real production roadmap. This is where planning transitions from creative to operational.
Use the Project Roadmap page template in PlanPhaƨe to map your milestones — vertical slice, alpha, beta, gold master — against a timeline. Then use the Risk Tracker page template to log your known risks upfront: scope creep, art pipeline bottlenecks, engine integration unknowns, third-party dependencies.
Risk tracking isn't pessimistic. It's protective. The risks you name before production are the ones you can plan around.
Phase 7: Break It Down Into Sprints and Tasks
The final planning phase converts your roadmap into actionable work. PlanPhaƨe's Tasks & Sprints system — backed by Kanban boards and sprint planning — lets you take every milestone and break it into individual tasks that can be assigned, tracked, and moved through your pipeline.
A good sprint for a game dev team might look like:
Define the sprint goal (e.g., 'Playable combat loop with two enemy types')
Pull tasks from your backlog that support that goal
Assign tasks with realistic time estimates — be honest here
Use the Kanban board to track tasks through To Do → In Progress → Review → Done
Hold a brief retrospective at sprint end to adjust your process
Keep your Assets organized in parallel — concept art, audio files, sprites, and reference images belong in a structured asset library so your team isn't hunting through shared drives mid-sprint. PlanPhaƨe's Assets feature gives you a dedicated space to organize all of this alongside your project, not separately from it.
One Source of Truth for Your Entire Game
The biggest planning failure in game development isn't skipping a document or using the wrong format. It's fragmentation — your GDD in Google Docs, your tasks in Trello, your art in Dropbox, your lore in Notion, and your team's institutional knowledge scattered across Discord threads. When your planning lives in five different places, nothing is actually planned.
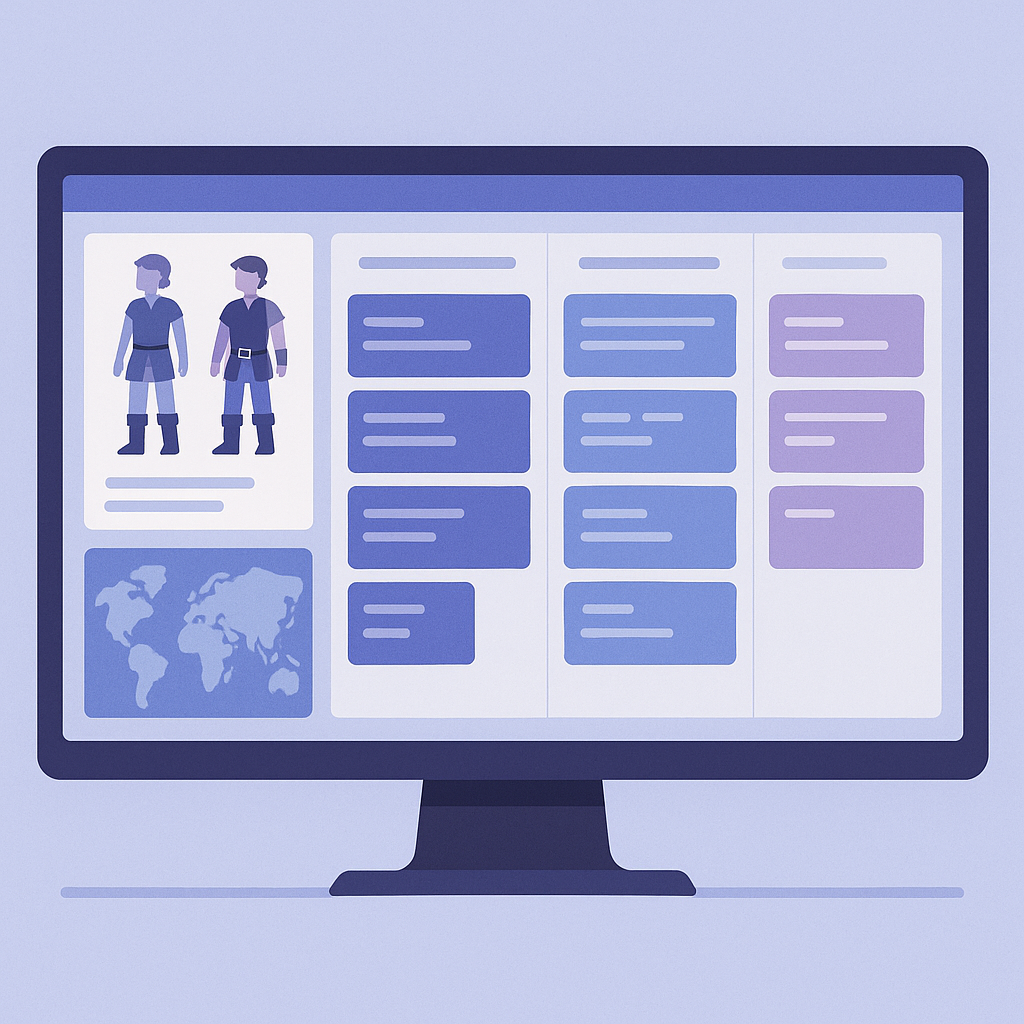
PlanPhaƨe's Game Development template brings your GDD, characters, mechanics, levels, world building, tasks, sprints, and assets into a single project workspace. Your Knowledge Base keeps shared reference information — engine conventions, naming standards, lore bibles — in one searchable wiki. Your Overview gives you a live snapshot of milestone progress. Your History log keeps a record of every change and decision made.
You spent months developing this idea. Give it a planning process worthy of it.
Start Planning Your Game Today
Great games are designed twice — once in planning, once in production. The teams and solo developers who invest in the first design phase ship faster, iterate smarter, and build games that match their original vision instead of a compromised version of it. Use this guide as your process, and let your tools handle the structure so you can stay focused on the craft.
PlanPhaƨe's Game Development template is ready to use right now — built specifically for developers who want one organized workspace instead of a patchwork of disconnected tools. Start with your Game Design Document, and build forward from there.
PlanPhaƨe™ Team
The team behind PlanPhaƨe™
Writing about planning, creative workflows, and building better projects — from the people making PlanPhaƨe™.
Related Articles
Plan your next project with PlanPhaƨe™
Docs, tasks, meetings, brainstorms, and live collaboration — all in one place.
Get Started Free